
Disk Management
Switch to the Disk tab on the main screen to manage virtual disk images. It supports formats such as raw, qcow2, vhdx, vdi, and vmdk, and provides a full set of operations including create, import, download, convert, clone, and snapshot.
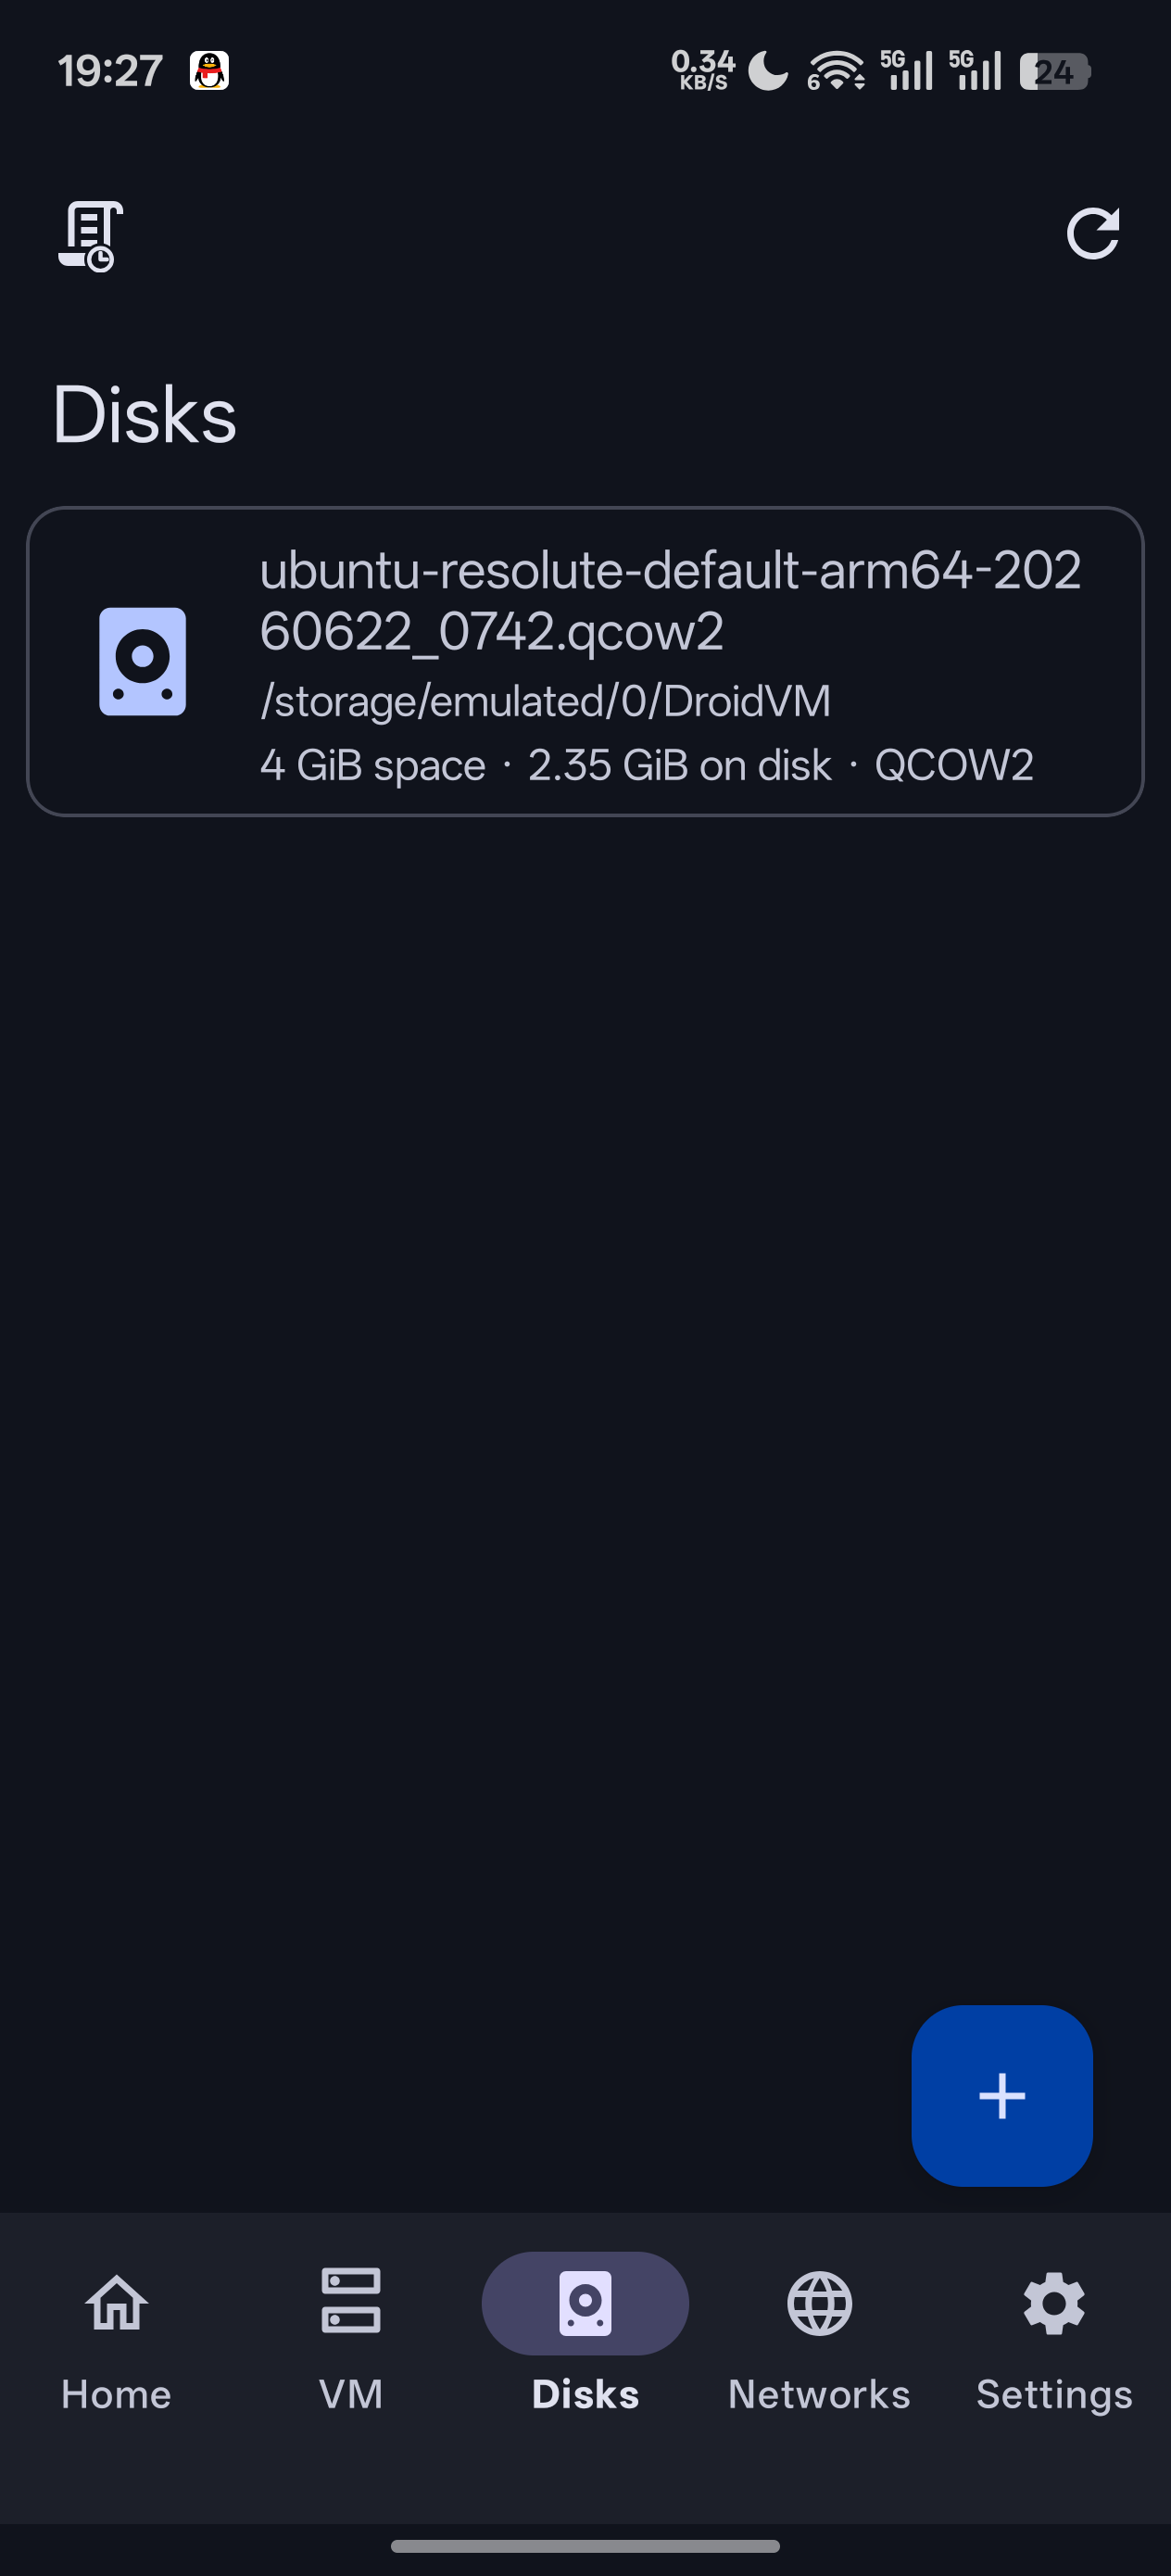
📷 Screenshot placeholder: disk list
Adding a Disk
Tap Add Disk for five options:
| Method | Description |
|---|---|
| Import an existing file | Register an existing disk file into the library via the system file picker |
| Download from URL | Enter a direct link to download a disk / kernel |
| Download a distribution image | Pick a distribution image to download from the built-in list |
| Import an LXC image | Choose distribution → version → variant, then download |
| Create a new disk image | Create a new blank disk |
Creating a Disk
| Field | Meaning | Default / Options |
|---|---|---|
| Name | File name | Auto-suggests disk.qcow2, increments on name collision |
| Folder | Save directory | Internal storage/DroidVM |
| Size | Virtual size (unit selectable) | 1 GB |
| Format | Disk format | QCOW2 (default) / RAW(img) / VHDX / VDI / VMDK |
| Compression | Shown for QCOW2 only | Disabled / Deflate(zlib) (default) / Zstandard(zstd) |
| Allocate all space now | Preallocate (fill with zeros) | Off |
| Backing image | QCOW2 only, the base disk for creating a Backing Image | Optional |
Format choice
- QCOW2: supports snapshots, compression, and Backing Images; the most full-featured option, recommended for daily use
- RAW: best performance and compatibility, but does not support snapshots and occupies all space
Backing Image
When you "create a Backing Image" from an already-registered disk, the new disk uses the original disk as its base and records only the differences. This is ideal for quickly deriving multiple VMs from the same backing image. In Backing Image mode the format is locked to QCOW2, and the size matches the virtual size of the base disk.
Disk Operations
You can perform the following operations on a disk entry (backed by qemu-img; the process shows progress in the terminal and can be canceled):
| Operation | Description |
|---|---|
| Resize | Enter a new size; shrinking requires a second confirmation (risk of data loss) |
| Convert | Choose a target format + new file name to convert into a new file |
| Clone | Enter a new file name + folder to copy into a new disk and register it |
| Optimize | Rewrite to an uncompressed format to speed up / be compatible with crosvm; for a Backing Image you are asked whether to merge |
| Create Backing Image | Create a new differential disk using the current disk as the base |
| Change password | Modify the Linux system password inside the image offline; see Agent Operations |
| Delete | Remove the disk entry; you can check "also delete the disk file" |
| View more info | Pop up qemu-img info details |
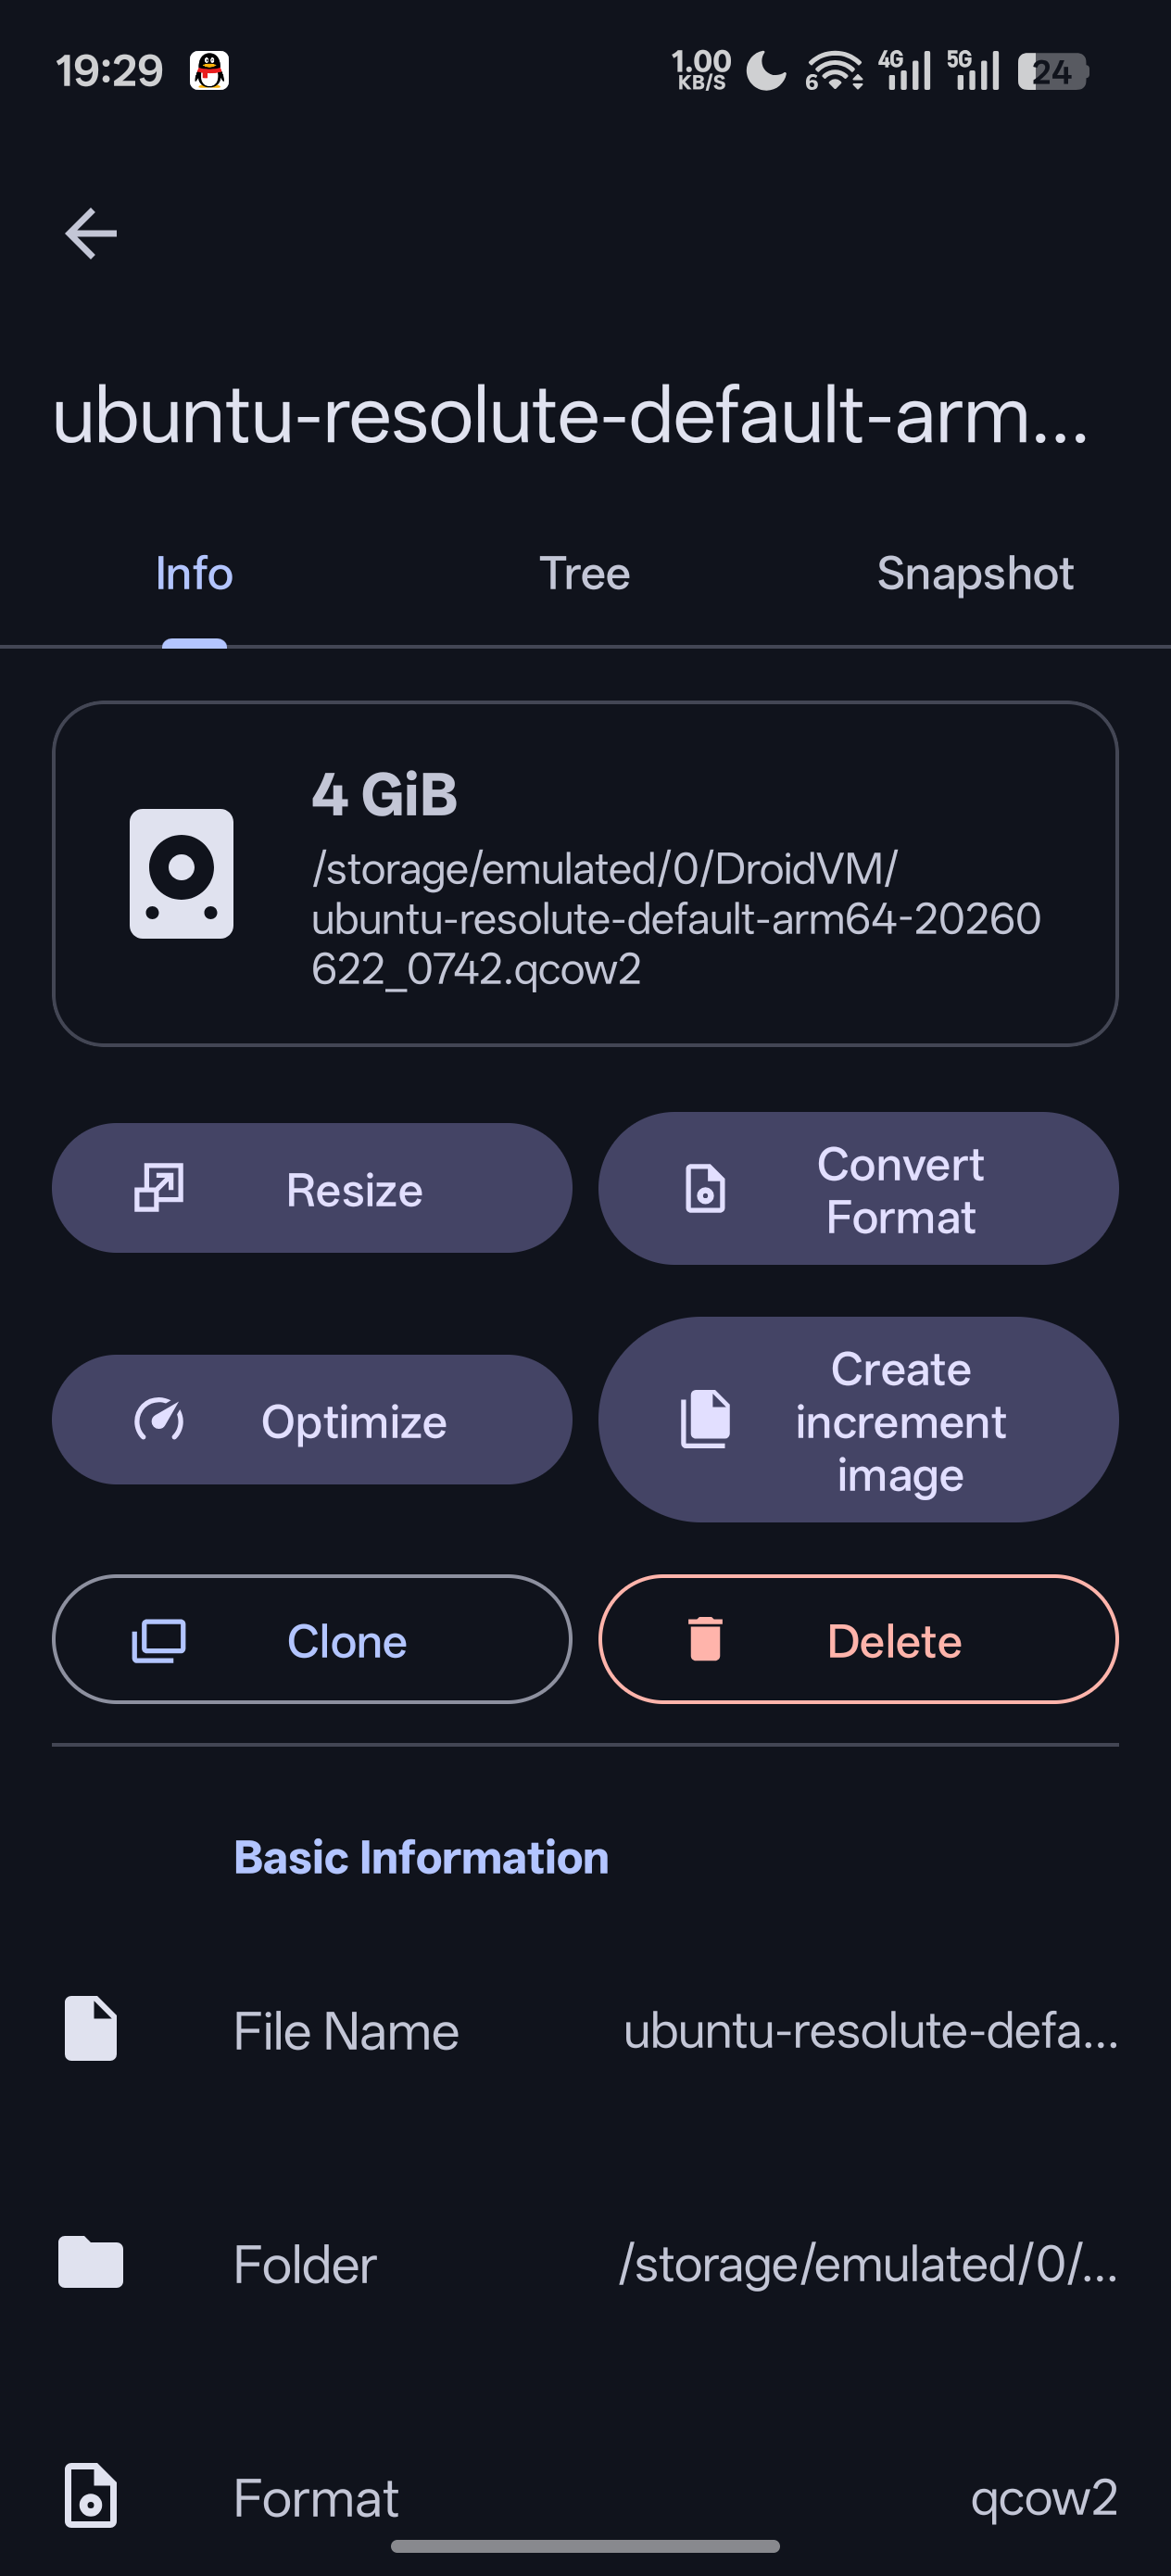
📷 Screenshot placeholder: disk operation menu
Making Disk Operations Faster
Converting and cloning are CPU-heavy. Setting CPU affinity to "big cores only" in App Settings speeds them up; restrict them to little cores if you'd rather keep the phone cool.
The Keep compression when optimizing setting also decides whether "Optimize" preserves existing compression or rewrites the image uncompressed.
Downloading Images
Distribution Image Download
Pick a built-in distribution image → choose a mirror (official / various mirror sites) → set the output file name and folder → download.
- Downloads run via a foreground service and can continue in the background, but only one download task is allowed at a time
- A QCOW2 image is automatically "optimized" after the download completes
URL Download
Enter an http/https direct link → tap "Load" to make a HEAD request that shows the file size / type and auto-detects the file name → set the file name and folder → download. Resuming from a paused state is supported, along with kernel analysis.
LXC Image Import
After choosing a metadata source (official images.json / API / mirror site / custom URL), cascade-select distribution → version → variant → build number, view the size and download path, then download.

📷 Screenshot placeholder: distribution / LXC image download
Disk Info and Snapshots
Tap a disk to enter its info page, which has three tabs:
- Info: image metadata parsed by
qemu-img(format, virtual size, actual usage, etc.) - Hierarchy: the backing chain tree of a Backing Image
- Snapshots (QCOW2 only): manage VM disk snapshots
Snapshot Management
| Operation | Description |
|---|---|
| Create snapshot | Tap the FAB and enter a name (qemu-img snapshot -c) |
| Apply snapshot | Roll back to this snapshot (overwrites the current state, second confirmation) |
| Delete snapshot | Delete the specified snapshot (second confirmation) |
The snapshot list shows: name, ID, state size, disk size, date, and VM clock.
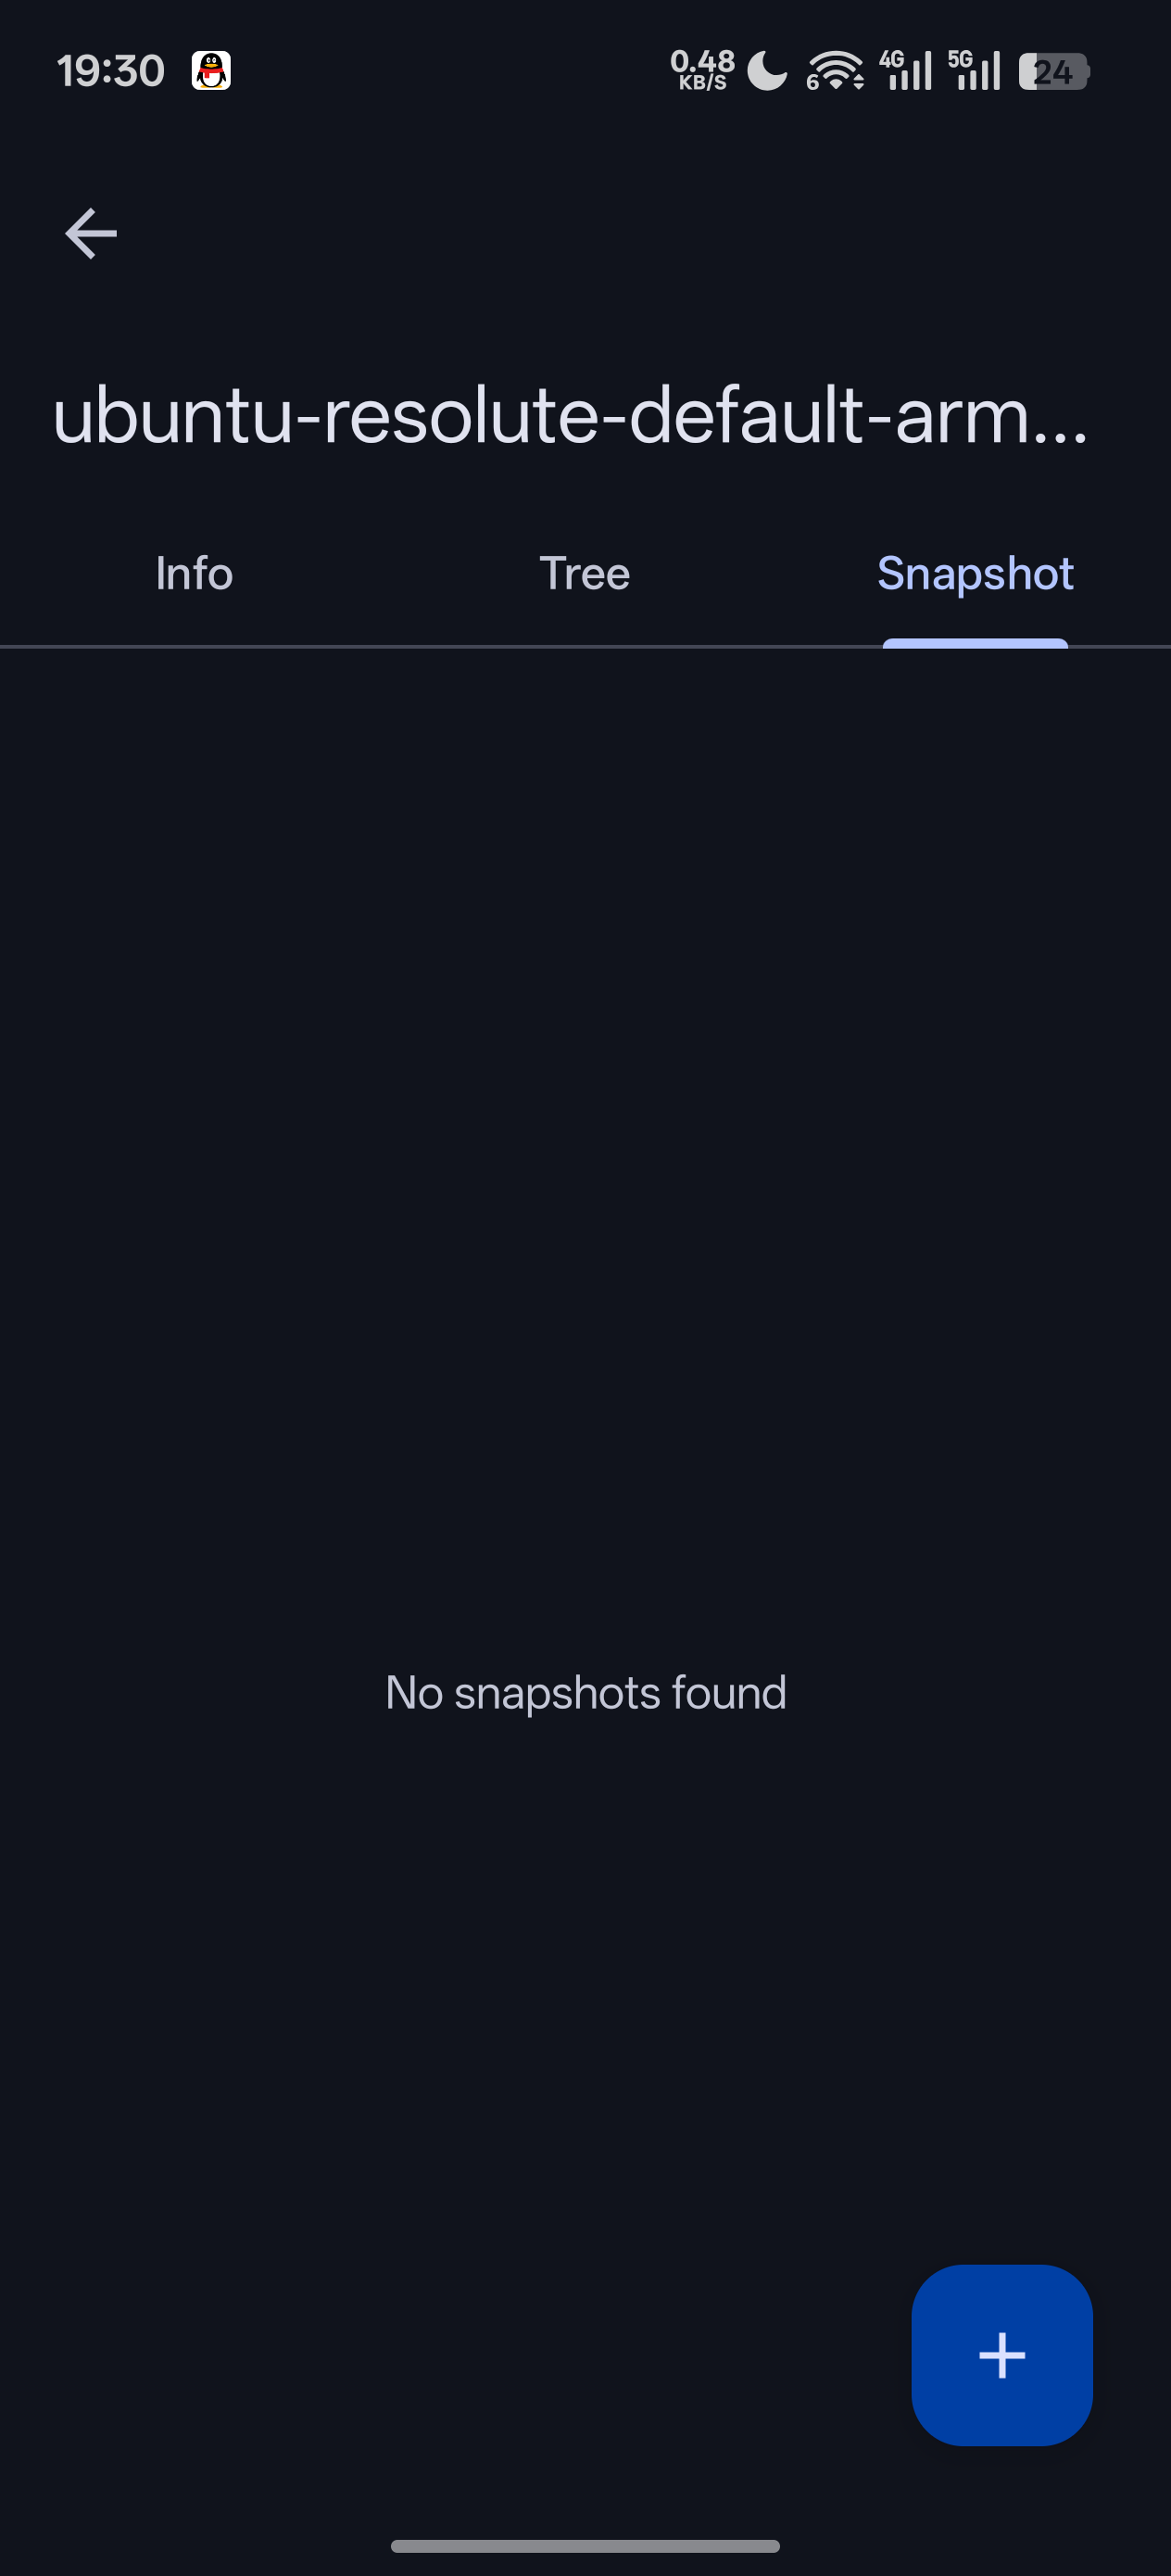
📷 Screenshot placeholder: disk snapshots tab
Snapshots and run state
Please operate on snapshots while the VM is stopped. Applying a snapshot to a disk that is in use may cause data inconsistency.